Ansible is one of the most powerful and simple open-source IT automation tools used in the DevOps world. Whether you’re managing a few servers or thousands, Ansible helps automate configuration, deployment, orchestration, and more — all without installing agents on the managed systems.
In this beginner-friendly guide, you’ll learn how to install and configure Ansible on a control node, set up SSH access to managed nodes, run basic commands, and understand Ansible’s inventory and configuration.
Prerequisites
Before diving into Ansible setup, ensure the following conditions are met:
- All managed nodes (the systems you want to control) must have Python installed.
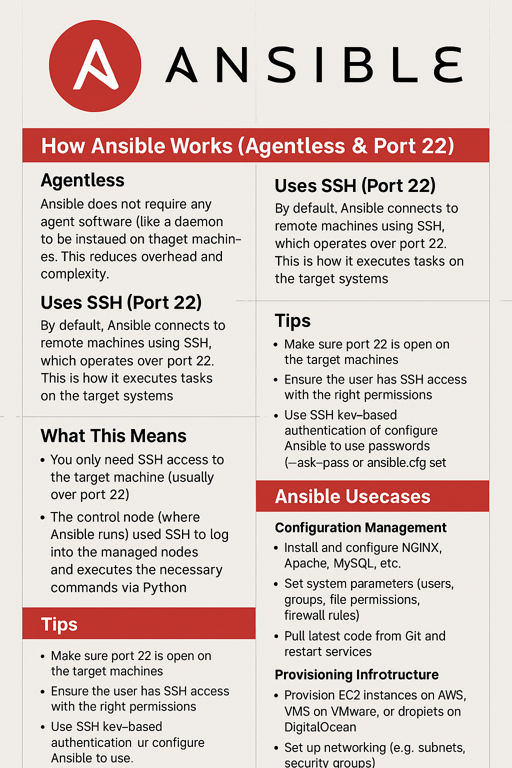
- The control node (your system with Ansible installed) must have SSH access to all managed nodes.
Step-by-Step Ansible Installation
Step 1: Update the System
Start by updating your package list on the control node:
sudo apt update -y
Step 2: Install Ansible
Install Ansible using the system’s package manager:
sudo apt install -y ansible
Step 3: Verify the Installation
Ensure Ansible is installed correctly:
ansible --version
You should see the installed version number and no errors.
Step 4: Configure SSH Access
To communicate with managed nodes, Ansible uses SSH. Set up passwordless SSH access:
Generate SSH Key on Control Node
ssh-keygen
Press Enter to accept the defaults.
Copy the Key to Managed Nodes
ssh-copy-id user@managed-node-ip
Repeat this command for each managed node.
Now you can SSH into the nodes without typing a password every time.
1. Inventory File Setup
It uses an inventory file to define the list of managed systems. Create a file named inventory.ini with host groups.
Example:
[webservers]
192.168.1.10
192.168.1.11

[dbservers]
192.168.1.20

[all:vars]
ansible_user=your_ssh_user
You can group your servers logically (e.g., webservers, dbservers) and set shared variables using [all:vars].
2. Running Ansible Commands
Basic syntax for running commands:
ansible <target-group> -m <module> -a <arguments> -i <inventory-file>
Ping All Web Servers
ansible webservers -m ping -i inventory.ini
Check System Uptime
ansible webservers -m shell -a "uptime" -i inventory.ini -v
Print Working Directory
ansible webservers -m shell -a "pwd" -i inventory.ini -v
Notes & Tips
- Use
-vfor verbose output to get detailed command results. - Use
-u <username>if you’re not specifyingansible_userin the inventory. - Use
--ask-passor--ask-become-passfor password prompts if SSH keys or sudo access isn’t configured. - Ansible modules like
ping,shell, andcommandallow quick testing and task execution.
Suggested Project Structure
Organize your Ansible setup in a clean folder structure:
project-directory/
├── inventory.ini
├── playbooks/
│   └── sample-playbook.yml
└── README.md
This layout keeps your inventory, playbooks, and documentation cleanly separated.
3. Set a Default Inventory File
By default, it looks for configuration in the following order:
./ansible.cfg(Current directory)~/.ansible.cfg(User home directory)/etc/ansible/ansible.cfg(Global config)
To make Ansible always use a specific inventory:
nano ansible.cfg
Add the following:
[defaults]
inventory = ./inventory.ini
host_key_checking = False
This disables host key checking and sets your local inventory file as default.
Final Thoughts
It makes infrastructure automation and configuration management simple, powerful, and agentless. Once you’re set up with the basics, you can start creating advanced playbooks to automate anything from package installations to full-stack deployments.
Whether you’re a beginner in DevOps or just exploring infrastructure automation, mastering it can make your operations more consistent and efficient.f
Stay Tuned!
In future blogs, we’ll explore:
- Writing your first Playbook
- Real-time DevOps automation scenarios
- Best practices for roles and templates
Next Steps
- Follow our DevOps tutorials
- Explore more DevOps engineer career guides
- Subscribe to InsightClouds for weekly updates
- Devops tutorial :https://www.youtube.com/embed/6pdCcXEh-kw?si=c-aaCzvTeD2mH3Gv
Leave a Reply